Sunday, February 9, 2014

Kids' Valentine's Day Cards Round 2


Micah agreed that we could make Super Hero Lollypop Valentine's Day cards. I wish I could come up with my own ideas, but I am not that original yet.

Instructions/Printables

The instructions are here at the Little Bit Funky blog.
The printable graphics are here at Less Ordinary Designs.

Cape Template 

 
Cape Template PDF

There is no cape template so my husband made mine for me which you can download by clicking this sentence or the above picture! When you print it, make sure your  page scaling is set to none, otherwise it won't print to the right scale. I put measurements on the cape so you can verify that yours printed correctly.


You need:

2 inch circle punch and scissors
1 hole punch (which I already had and did not include in cost)
Felt (the blog recommends stiff felt, but I just bought the regular flimsy kind.)
Ribbon
Lollypops
Glue
Cape Template
Printables
Sharpie (to trace cape template on felt)


You can either use a 2 inch punch or scissors to cut out the circle. I recommend this Fiskars Squeeze Punch, the X-Large size is the one that cuts 2 inch circles.I bought mine at Michael's and used a 40% off coupon, which reduced the costs from $16.99 to $10.19. What a deal!


Based on my cape template, I was able to fit 9 capes on each piece of 9x12 felt square. The total felt cost was $1.65. Because I printed the printables 4 times each, I needed 1 of blue, black, green, and 2 of red.


I bought 4 spools of cordinating ribbon for $3.49.


I used some Aleen's tacky glue to adhere my Super hero logos to the felt, and it worked fine. I gave it about 20-30 minutes to dry before assembling the super hero lollypops.  I used regular computer paper, when I printed my logos up, but I would highly recommend using some sort of cardstock. The glue won't appear as much, and the colors usually look nicer printed on cardstock.


Lastly I bought 3 bags of Tootsie pops. I could have just purchased two, but I wanted a variety of colors since which colors you get is random. The total cost was $6.72.

Total cost: $22.05
If you already have a punch, then it cost even less to do this project! Definitely more expensive than regular V-Day cards, but so worth it, since they are SO cute!

I am really pleased with how the Valentine's cards came out and I think the kids will be too.


Friday, February 7, 2014

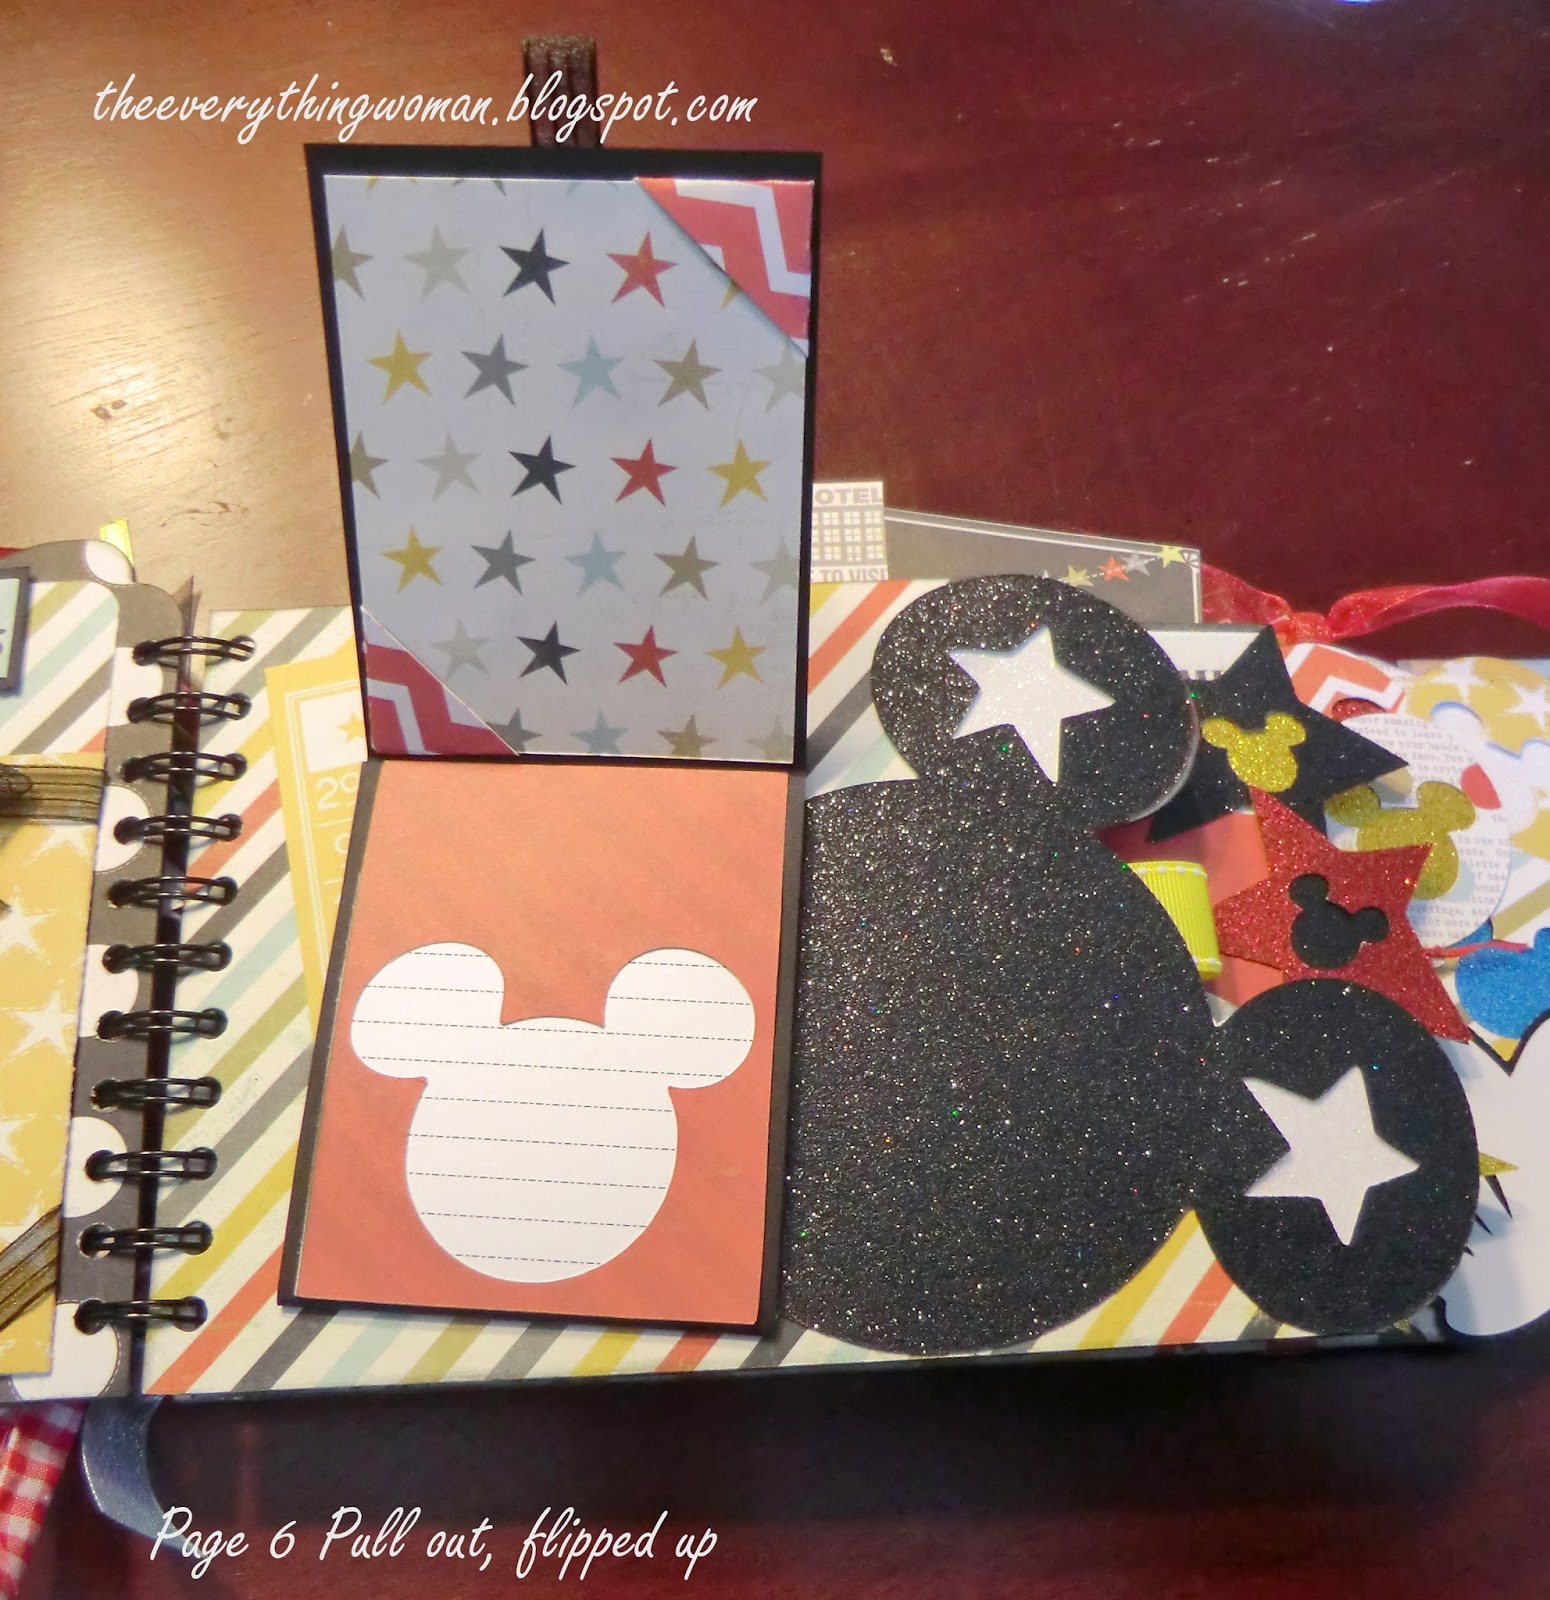
Disney Express Scrapbook Class

I took this scrapbooking class a few weekends ago, and it was the most intense class I've ever taken. We worked for nine solid hours. Our 30 minute lunch break ended up being bites of food between pages. This class was offered at a local scrapbooking store and the pages were all designed by Nancy Evans. I did add a few little things here and there from extra decorations she provided us, but not a ton. So this is it! Now I just need to add pictures. :)


I've e-mailed Nancy to see if she has a blog I can link to. Otherwise, enjoy and be inspired!!

Monday, February 3, 2014

Kids' Valentine's Day Cards

Last year I did handmade Valentine's Day cards for Micah's class for the first time! I got the idea from pinterest, and found the blog here. So cute!!!! Mine are a little different than the original blog post, but that site has the file for "Our class would knot be the same without you."


This year I will ask Micah about what kind of Valentine's cards he'd like to give out. I know he prefers cool character ones that you buy at the store, but if we do something handmade, I will post the end results!

Tuesday, January 28, 2014

Our Gender Reveal

So as I mentioned in my last post, I am pregnant. I am 19 weeks along, but we went to special ultrasound a few weeks ago to find out the gender and planned a little something for our parents to do the big reveal.

We actually booked our ultrasound after we found out my in-laws would be visiting for the weekend, so that we could do a fun little reveal with both sets of parents.

So after we found out if baby was a boy or girl! We picked up a couple gender appropriate outfits. We wrapped the gifts in a blue bag and pink bag. (This is how I posted it on our social media sites to let people stew for a while and wonder).


We took our bags with us out to lunch, and let each set of parents open their bag and figure it out! Everyone seemed to have a good time, and it was a fun way to share the news. Otherwise we would have just blurted it out. This was the next post I did for facebook, once we told all of our siblings. 


10/10 would do again. :) I plan on making this pregnancy as special as possible.

Monday, January 27, 2014

It's been a while/ DVD and Video game organization

I am officially done reorganizing DVDs, adult and children, and video games! It really did take this long, but that's not why I did not post for so long. Finding out your pregnant in the middle of organization projects and dealing with the subsequent first trimester energy drain and morning sickness all took its toll on blogging abilities and inspiration, especially when you're not telling anyone you're not pregnant until your first trimester is over. Now enough about that- onto organization!

In one of my older posts {DVD/Blu-ray organization}, you can see I had started my reorganization endeavors with a very large DVD case. I am happy to report back that it is now EMPTY.

All of our movies and games are being temporarily stacked near our fireplace.


  I've already explained that the DVDs and Blu-rays are now being put into Atlantic DVD sleeves, and the video games are in these sleeves, which I then put into these Avery Binders. The binders hold about 18-20 video games each, depending on the thickness of the instruction booklet. We included the instruction booklet, which is why we chose the sleeves we did rather than just a standard CD case. So our games look like this: 


The last aspect of the re-org was our children's movies. The Atlantic DVD sleeves seemed a bit to fragile for little hands, so I went with this Artisan 240 Disc Album. The nice thing is that there is room for two discs per page, and if you need to include a third disc, we just slipped ours in front of the cover art. 


Now I just need to come up with a new permanent spot for everything! Whew! Glad to be mostly done with this project though.